Strip Club
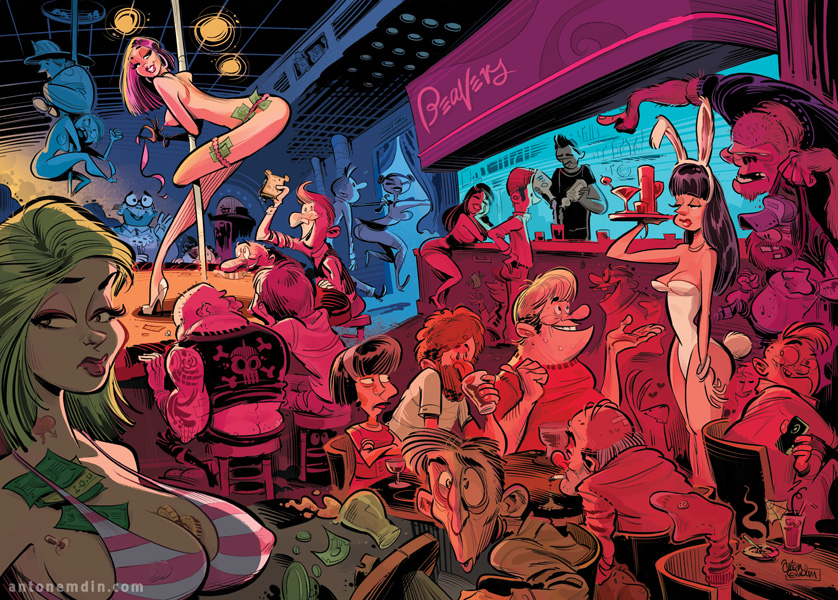
WARNING: ADULT CONCEPTS AND MILD NUDITY. Another in the Australian People Magazine DIY: How To... series. Please click for a closer look...
This one was a lot of fun - there are quite a few jokes and 'chicken fat' gags in there. Please scroll down to see how it was made.
A Quick Process
Rough and Sketch
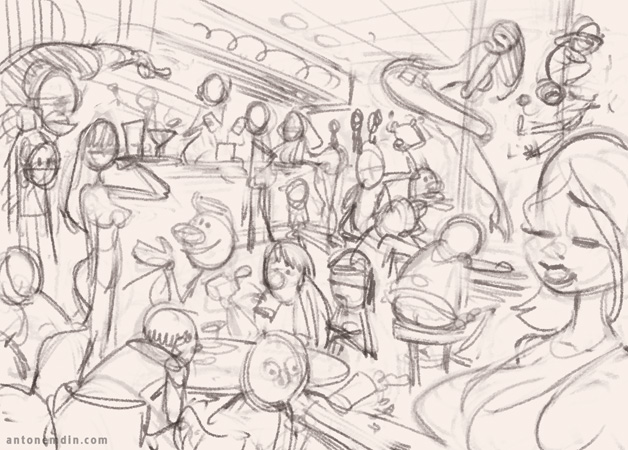
I start off with a very rough sketch that I send to my editor. I want to make sure he is happy with it before I spend too much more time on refining the pencils.
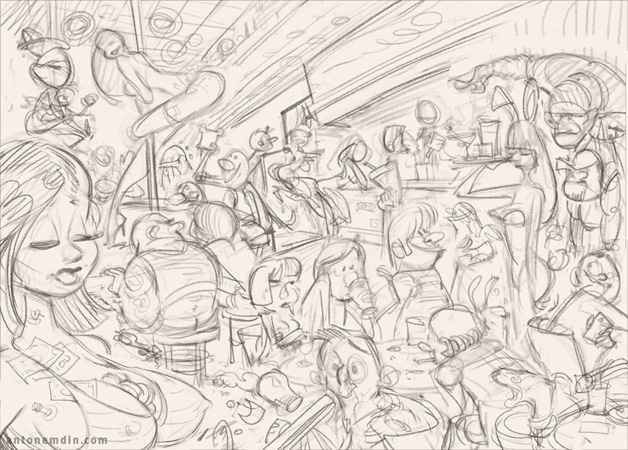
All is good to go, so I continue sketching. I am continually refining the sketch as I go. Below, I've flipped it horizontally, as I felt the flow works better that way. In the top rough, the eye is drawn from left to right, and ends up on the foreground girl. Seen the other way (below), I feel that your eye is forced to travel across more of the illustration - from top left to bottom right, and across to the left again. This is more easily seen in the finished sketch.
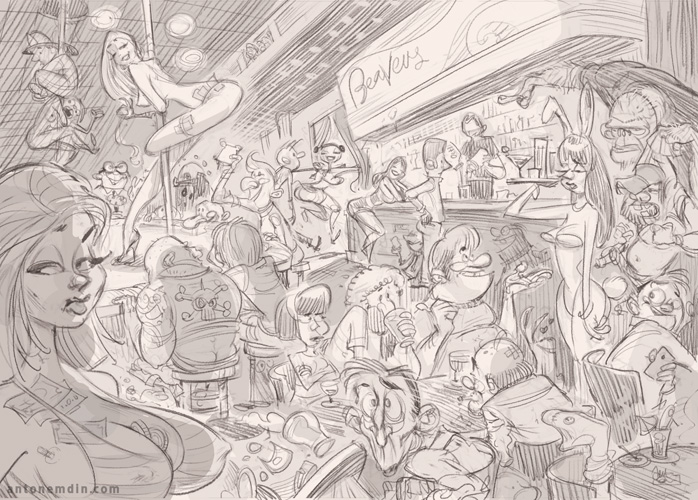
Finished sketch, with a quick wash to indicate the mood and light source a little more.
Inks
Now I turn the opacity of the sketch down, add a new layer in Photoshop, and 'ink' directly over the top. I try to use all my traditional brush skills in recreating the art to look as natural as can be. While my real brush work is looser, they are pretty much in sync, which is the way I like it.
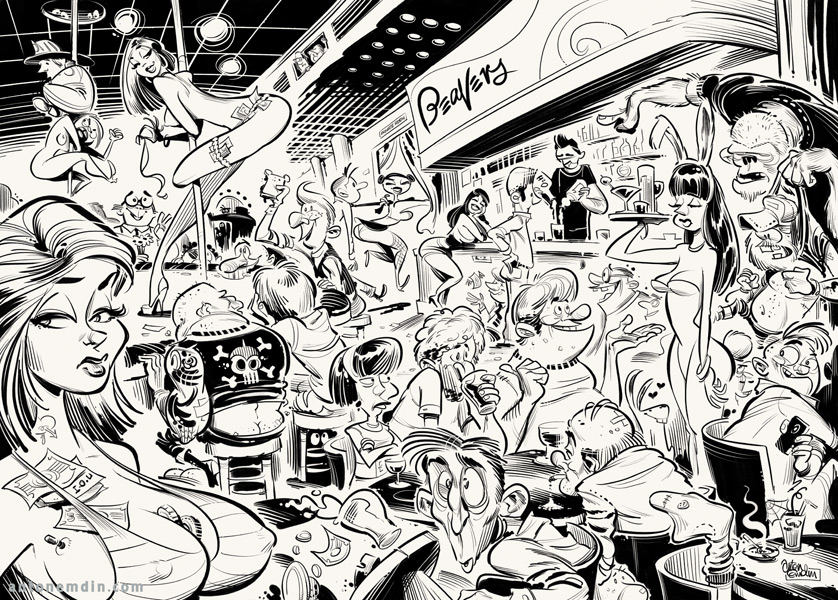
And here are the finished pencils, below. In some cases, like this one, I actually prefer the inks without colour. It seems more energetic, somehow. Plus, you can see some of the detail more easily without the dark club colours.
Colour
Now I block in the main areas of colour. This is the start of the general colour mood, but as I have done each colour on a new layer (in Photoshop) I can CMD+Click the layer thumbnail to easily select the area to work on.
It's at this stage I want to do a fairly rough colour-up so I know where I'm going with colour (below)...
And once I'm happy, I neatly paint in all the flat colours...
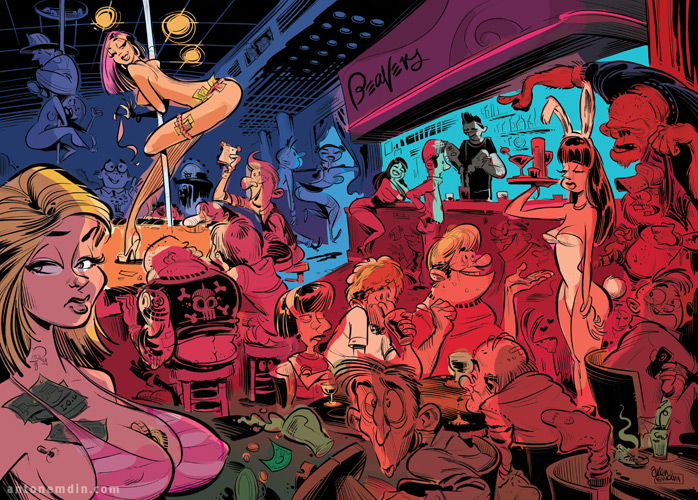
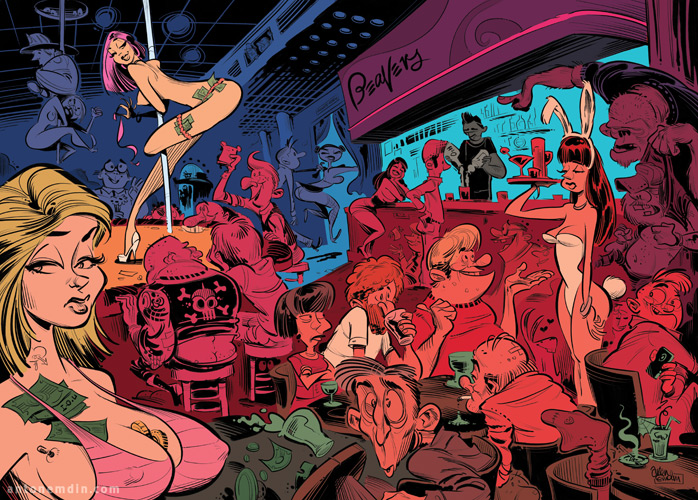
And from there, it's I work away at the colour until I'm happy with it - adding shading and details, adjusting colour balance, and making small adjustments (eg. I made the girl at the bar's head a little larger, etc.).
And the finished art, again:
Thanks for looking!


